In this article, we will learn how to install Putty on the Ubuntu system. The same procedure can be used for Debian-based distro, Mint, and previous Ubuntu releases.
Putty is the most widely used SSH and telnet client in Microsoft Windows operating systems. It is used to remotely access and configure devices such as servers, switches, and routers. PuTTY is a free and open-source terminal emulator, serial console, and network file transfer application. It supports several network protocols, including SCP, SSH, Telnet, rlogin, and raw socket connection.
Prerequisites
- Ubuntu system
- User with sudo privileges
Install PuTTY on Ubuntu
How to install the PuTTY on Ubuntu, we have to follow the following steps one by one:
Update your Ubuntu
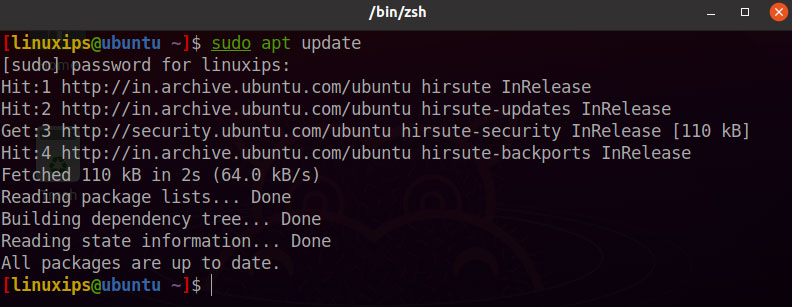
First of all we have to update our Ubuntu. So you have to run the following command in the terminal.
$ sudo apt updateInstallation of Putty on Ubuntu
Now using the following command you can install the PuTTy on Ubuntu:
$ sudo apt install putty -y
Once installation is completed, you can verify the installation through the following command in Terminal:
$ putty --version
Open Putty on Ubuntu
Now you can open the putty application on your Ubuntu system. You can launch the PuTTY via the command line Terminal or vai GUI searching in the Activities.
If you want to launch Putty via command line, use the following command in Terminal:
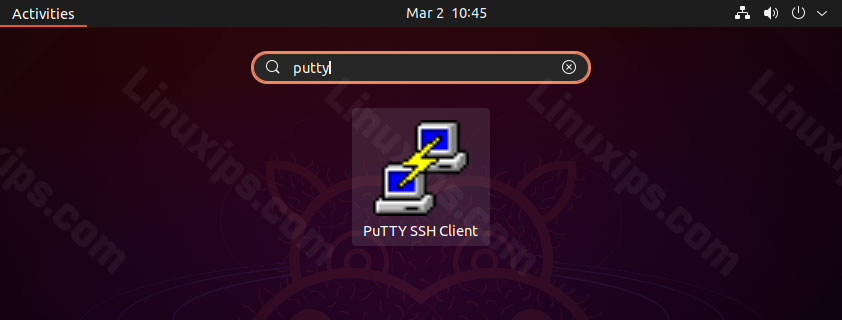
$ puttyIf you want to launch Putty via GUI, hit the super key on your keyboard or click on Activities and type putty in the search bar. Once the icon of the Putty appears, click on it to launch it.

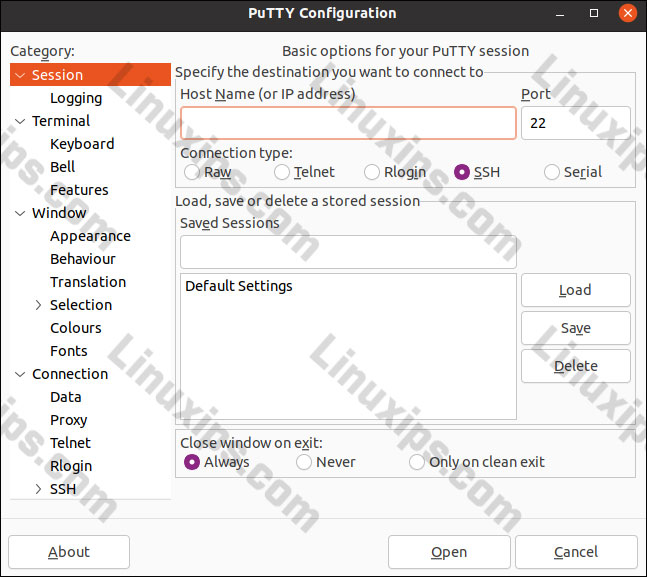
Here is the Putty look like same as in Windows version. Only Ubuntu theme and color is added here.

Conclusion
That is all there is to it! In this article, you have learned how to install Putty on the Ubuntu system. Now you can easily administer and manage the remote systems using a GUI utility. All the commands and procedures described in this article are also valid for Debian, Mint, and previous Ubuntu releases.


