In this tutorial, we are going to learn how to install fonts in Ubuntu. In Ubuntu, we are getting many fonts already which are pre-installed, but if we want some custom fonts from the internet. So here we will learn about installing customer fonts or we can say third-party fonts.
Download the fonts
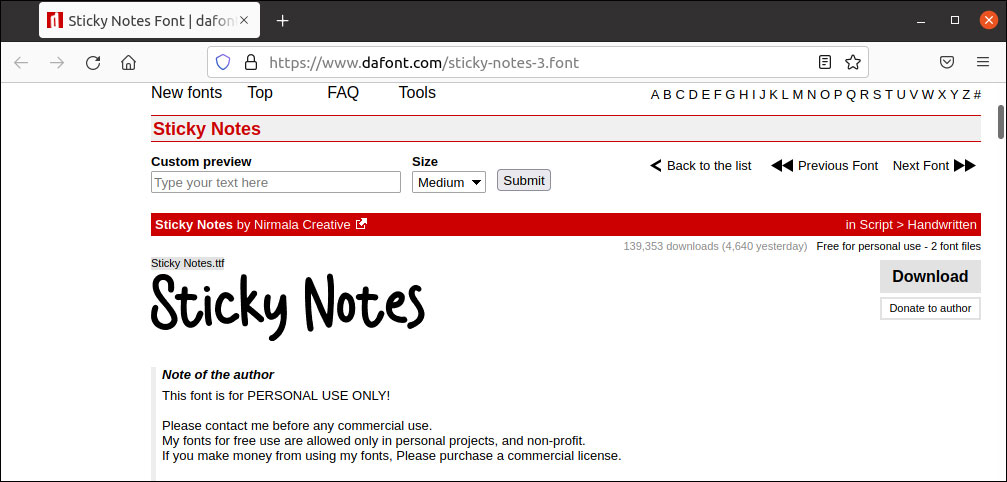
You can download any fonts from the internet but make sure the font type must be .ttf, .otf, .ttc. First, you have to download any font from the internet. In this tutorial, I am using the Sticky Notes font to install my Ubuntu 20.04. So I am downloading the free font from this website.
Next, we will unpack the file using unzip:
$ unzip font.zip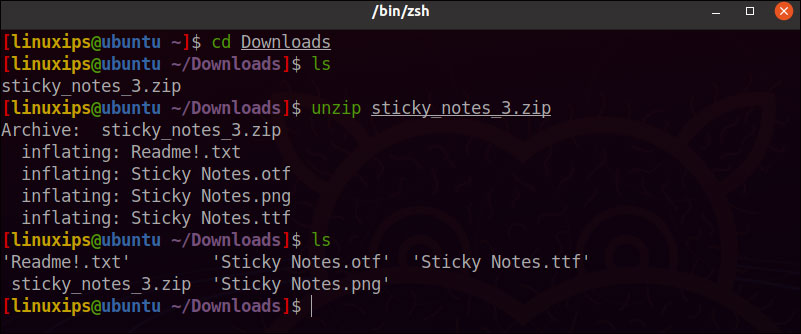
Install the Font Manager
You can also install the Font manually, but here I am using the Font Manager application and manage fonts that way. To install Font Manager in Ubuntu, open a terminal and use the command below:
$ sudo apt install font-manager
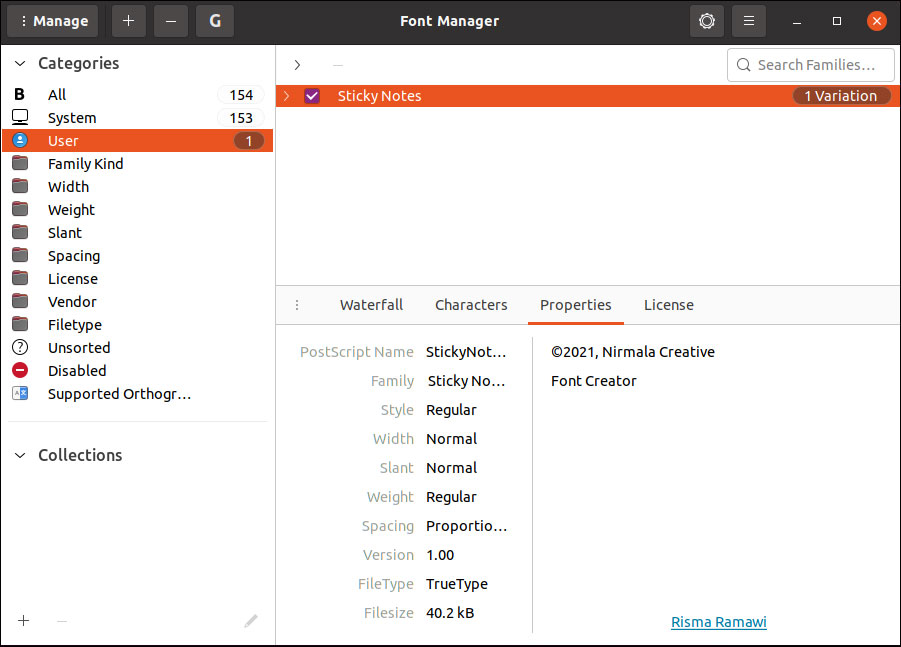
You can see installed fonts here and options to install new fonts, remove existing fonts, etc.
Installing fonts in Ubuntu Linux
Install fonts using Font Manager
Fonts you have downloaded can be installed by double-clicking on the font file.
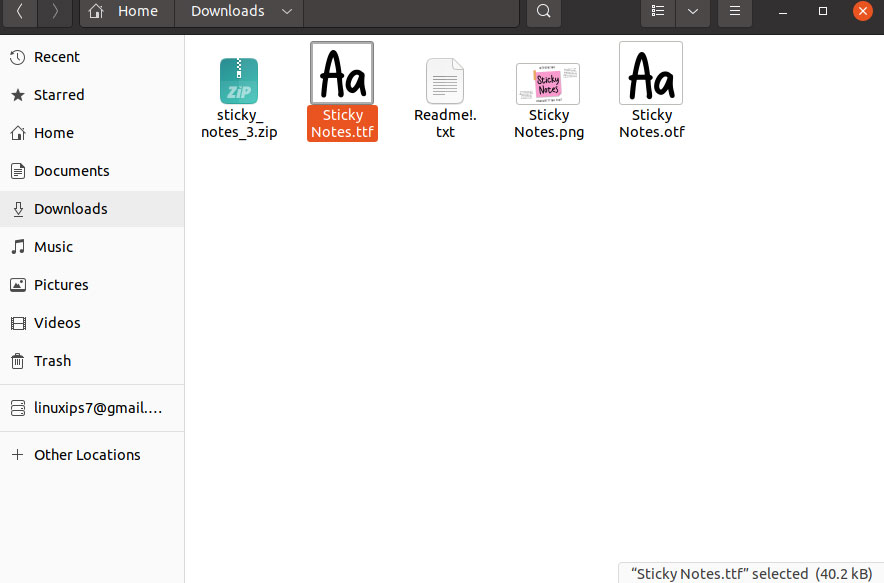
It will open in Gnome Font Viewer. And here, you can see the option to install the font in the top right corner:
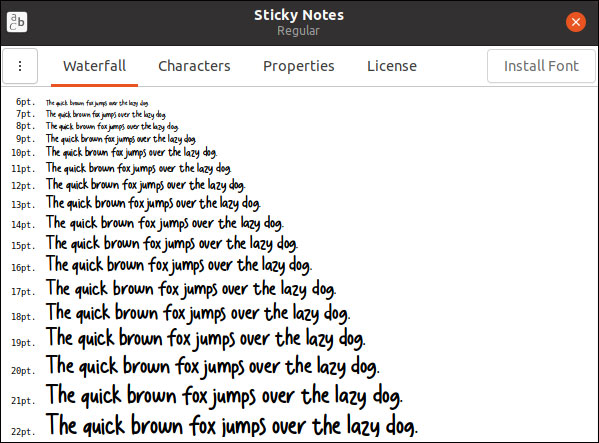
Now your font is installed in your Ubuntu. you can manage the font now from the Font Manager. You can see installed fonts here and options to install new fonts, remove existing fonts, etc.
Conclusion
In this tutorial, we have learned how to manually manage fonts using Font Manager GUI tool. This is the simplest and easiest way to install the custom fonts on Ubuntu. If you have any questions or comments, please post them below.
Related Linux Tutorials:


