In this tutorial learn how to install Debian 11 Bullseye. Debian recently released its newest stable version, Debian 11, also known as Bullseye. The latest release includes many updates to Debian’s software packages, including five years of support for its users.
System Requirements
- 2 GHz dual-core processor
- 4 GB RAM (system memory)
- 25 GB of hard-drive space (or USB stick, memory card or external drive but see Live CD for an alternative approach)
- VGA capable of 1024 x 768 screen resolution
- Either a CD/DVD drive or a USB port for the installer media
- Internet access is helpful [optional]
Download the Debian
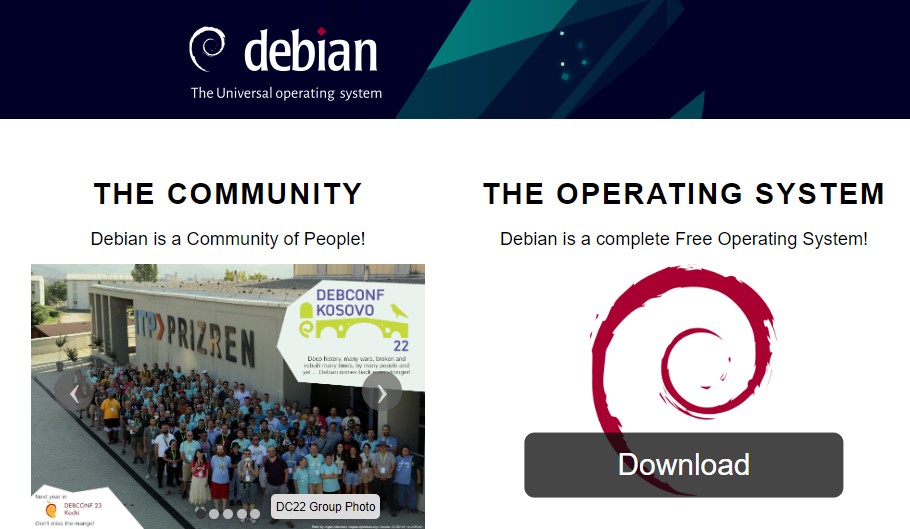
So first of all you have to download Debian 11 from the official website. It depends on you you want to download the small installation image or the complete installation image.
Make Bootable USB Drive
After downloading the ISO image of Debian 11, you have to make a bootable USB drive. So you can install Debian 11 on your laptop/PC. So you can make the bootable drive using third-party applications or you can also make it by the terminal in the Linux distro.
Third-party Applications
- Rufus [Download from here]
- balenaEtcher or many more. [Download from here]
How to Install Debian 11
So first of all boot your bootable USB or flash drive in your system. There are many ways to boot your USB drive as the first boot device. You have to change some settings in BIOS. After booting your USB drive you will get the installer menu. Here you have to choose the graphical install to install the Debian on your system.
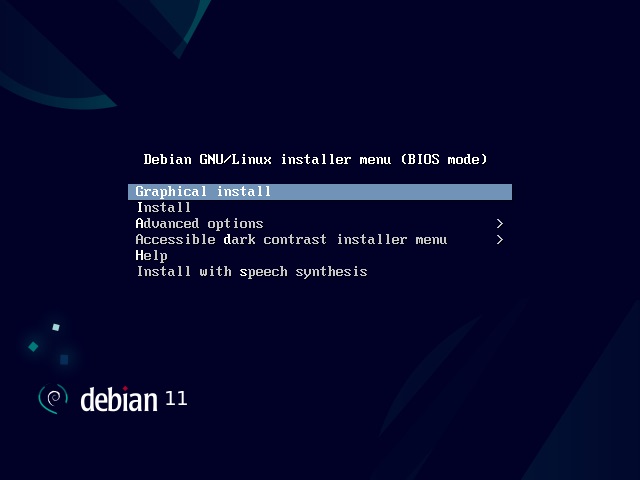
Set Up Language, Location, and Keyboard
1. Start by selecting the language of the installer and the operating system. Find your preferred language and select continue.
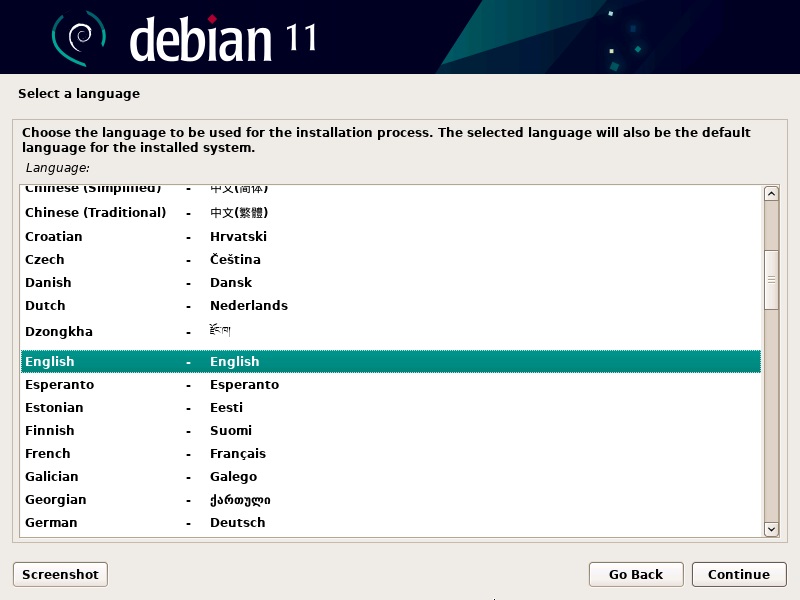
2. Next, provide your location. Based on that information, Debian will set up your time zone. In case you cannot find your country listed, select on other for a more extensive list.
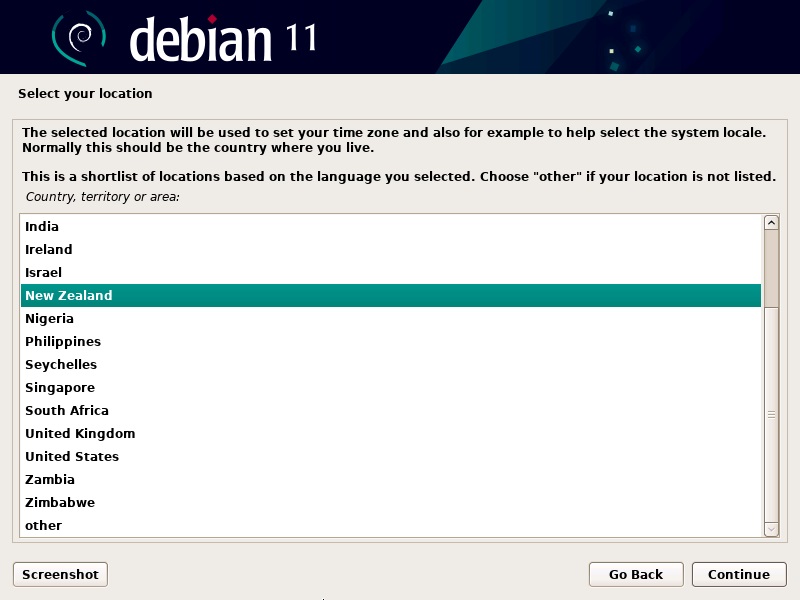
3. Continue by selecting the keyboard you will be using.
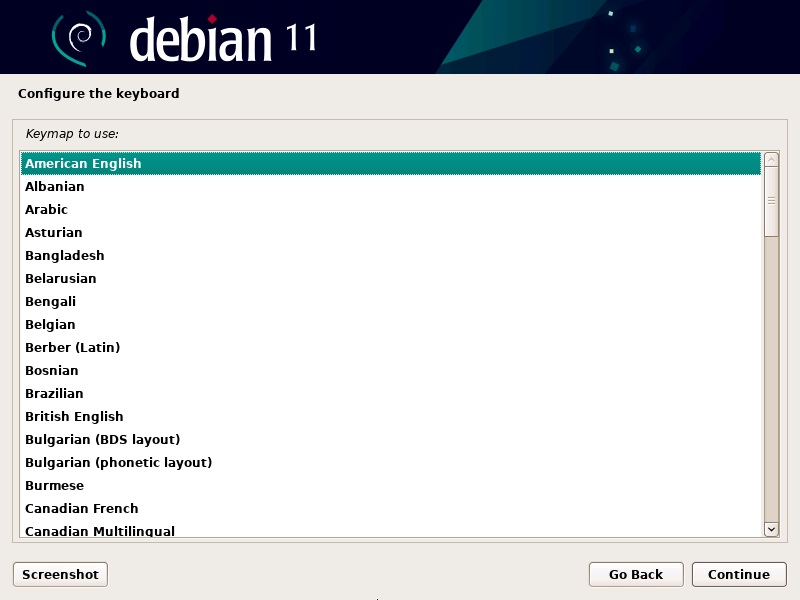
Configure Network
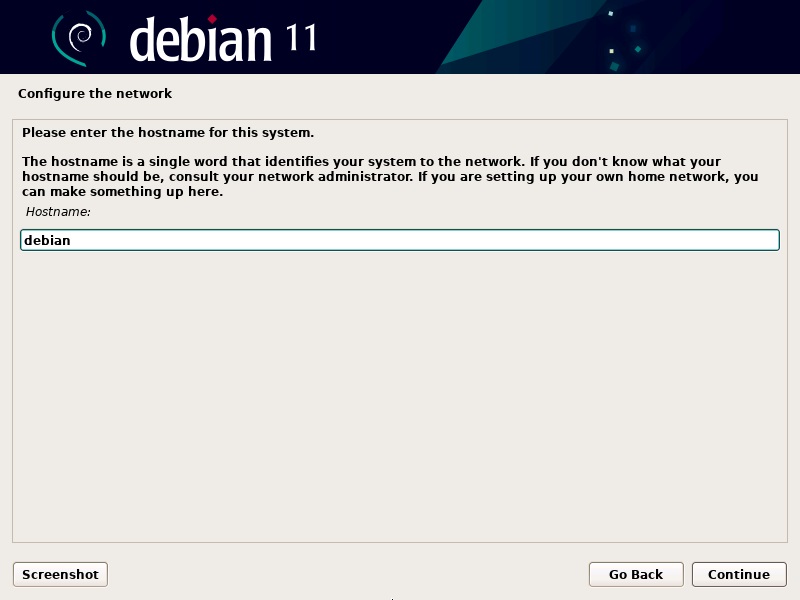
1. Start configuring the network by giving your OS a name. It is how you and other systems will identify it on the network. To simplify the process, we named the network debian
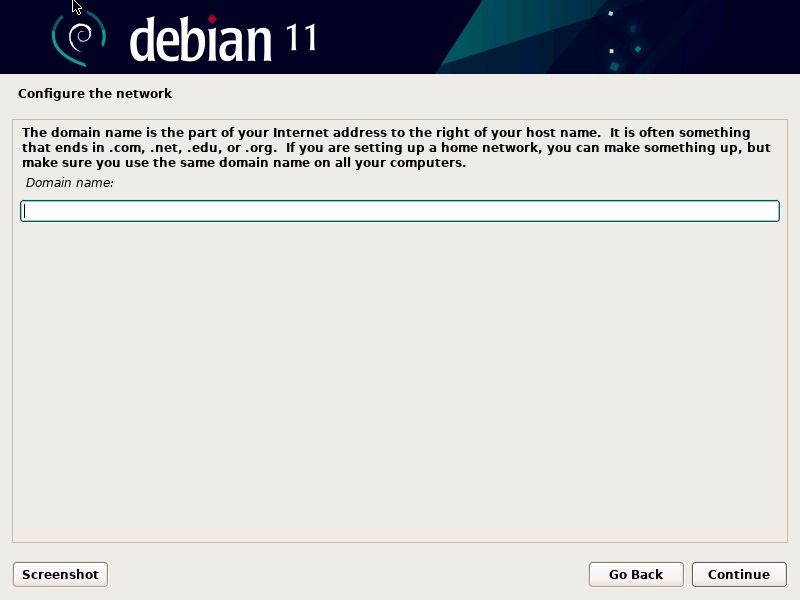
2. Also, part of configuring the network will be setting up a domain name. Most likely, it will be a word or phrase followed by .com, .net, .org, and so on. In case you are configuring the network for personal use at home, feel free to make up any name or leave it empty.
Set Up Users and Passwords
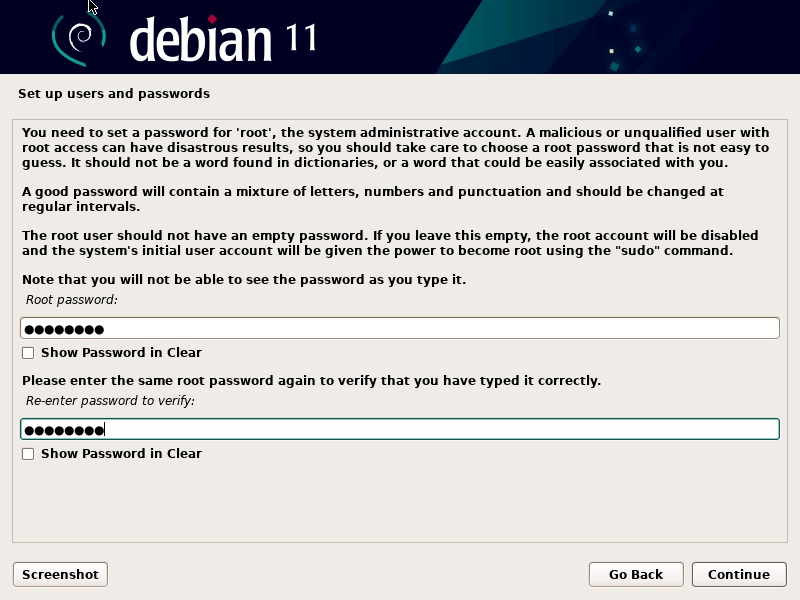
1. The next step is to set up users and passwords. Start by creating a root password. Make sure to include letters, numbers, punctuation, and both lower and upper case characters. The more complex your password is, the less likely you are to have security breaches in the future.
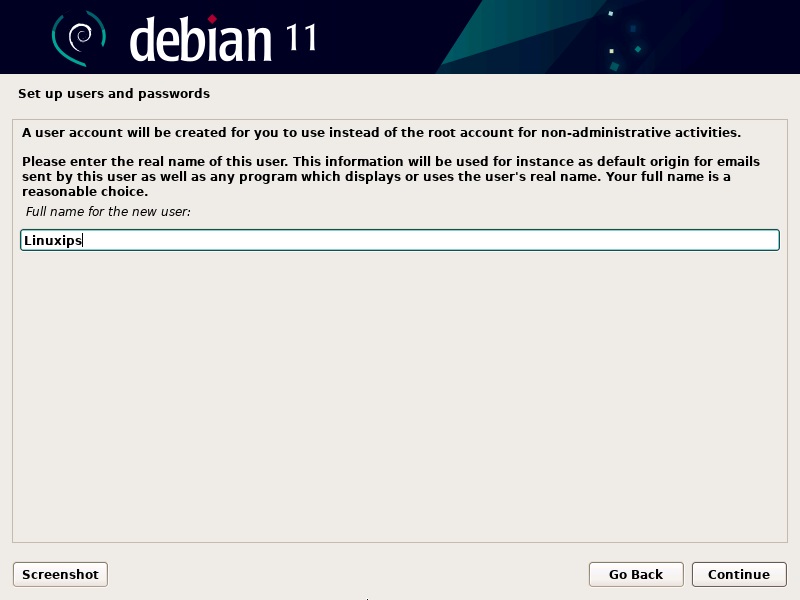
2. Then, create a user for non-administrative activities. Type in your full name (or at least your first name) and click Continue.
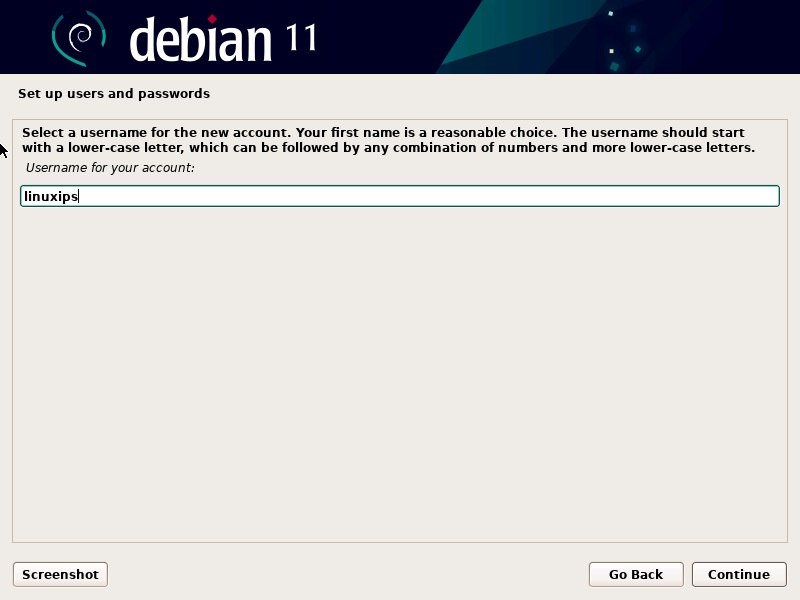
3. Now next, create a user name for non-administrative account. The username should start with lower case letter and click Continue.
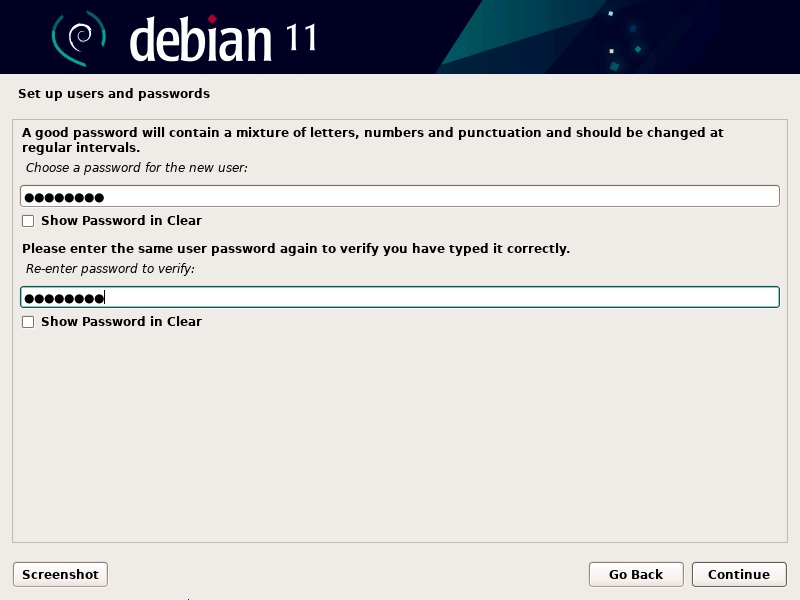
4. Just like the root, the user accounts require a strong password. Create a password for the new user and re-enter it to verify.
Partition Disks For Debian 11
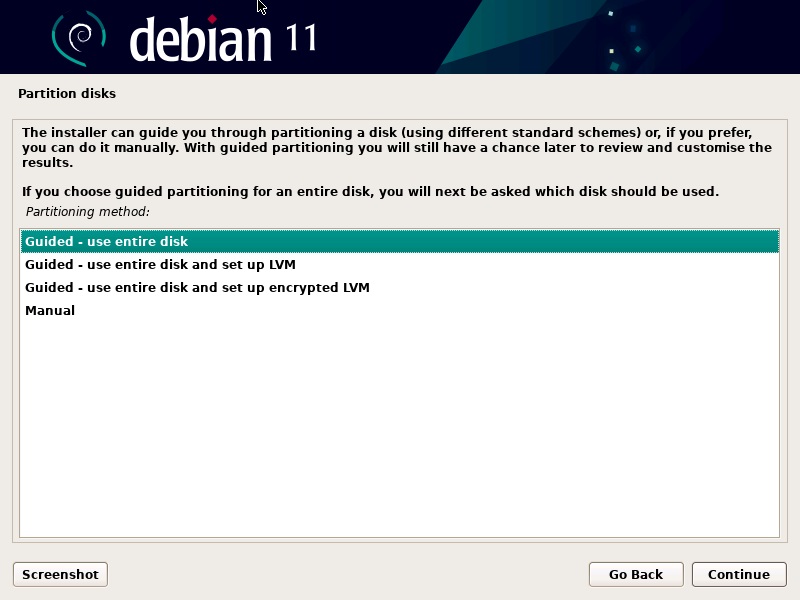
1. To partition disks, you first need to decide whether you want the installer to guide you through partitioning or if you prefer to do it manually. Generally, we recommend choosing the method: Guided – use entire disk.
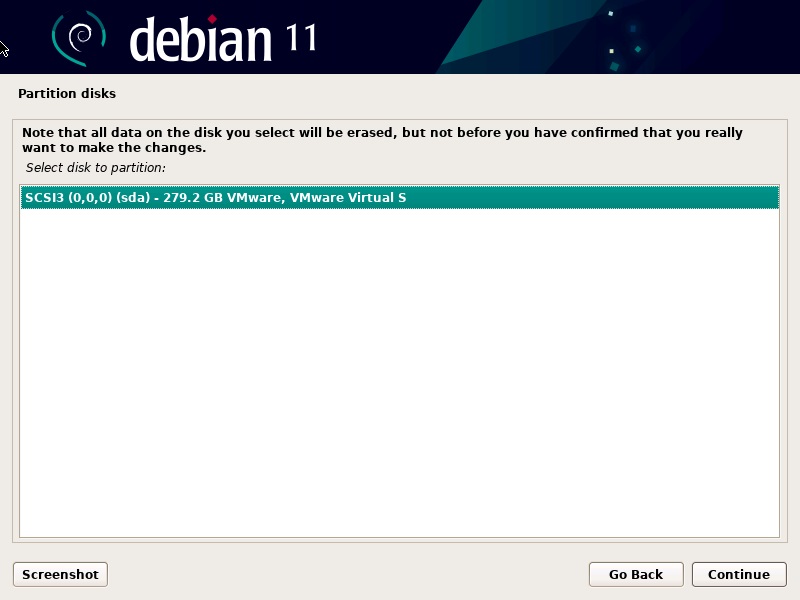
2. Select the disk which you want to partition. Be aware that all data on the drive will be erased.
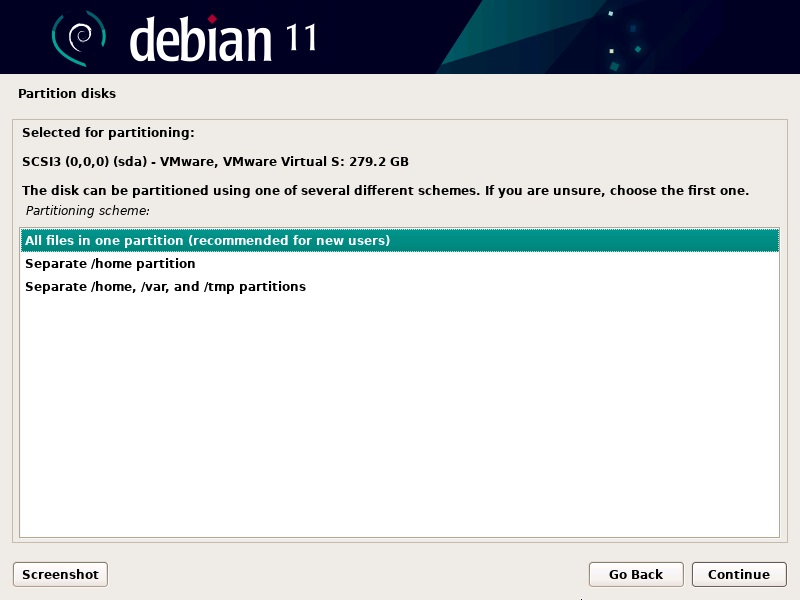
3. Then, partition the disk using the scheme you are comfortable using. For new or inexperienced users, it is best to go with the default scheme of all files in one partition.
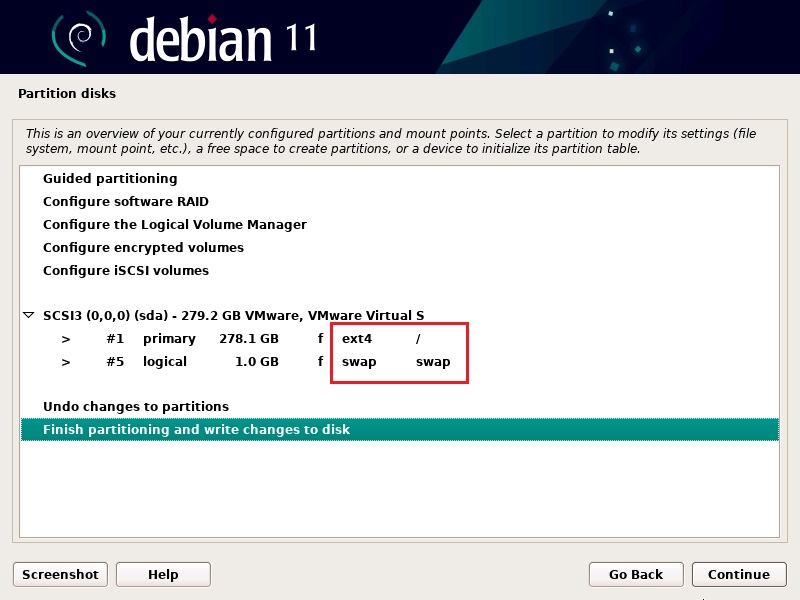
4. The installer will show you an overview of the disk configuration. Check the settings and click Continue if everything is as you want it.
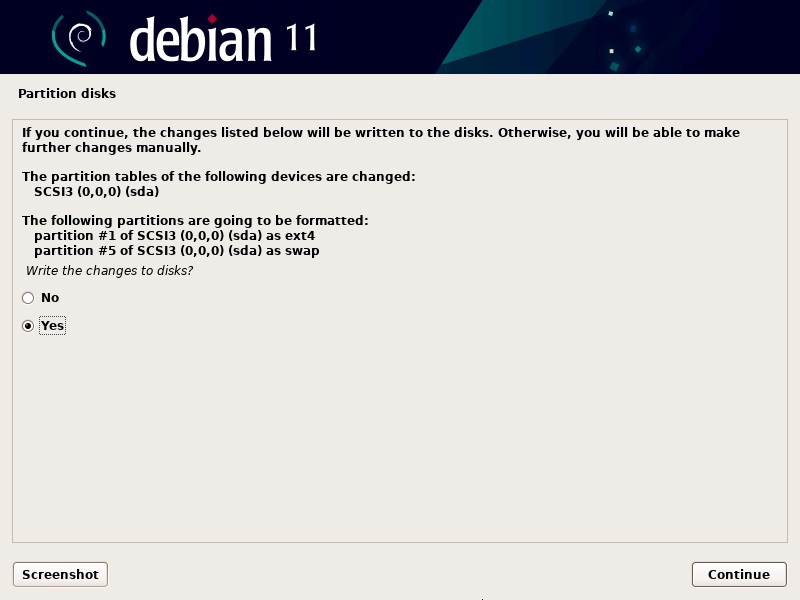
5. Confirm the changes to disks by selecting Yes and select Continue.
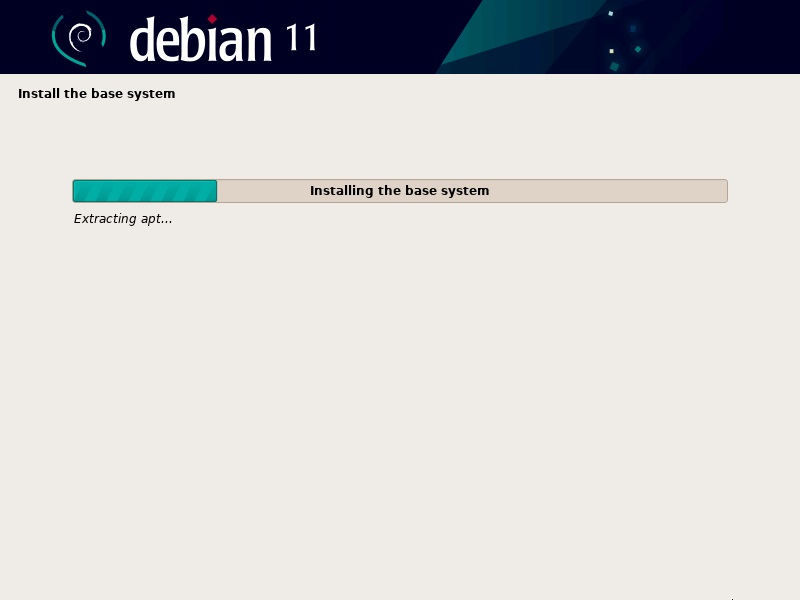
6. The installation will start.
Final Configuration
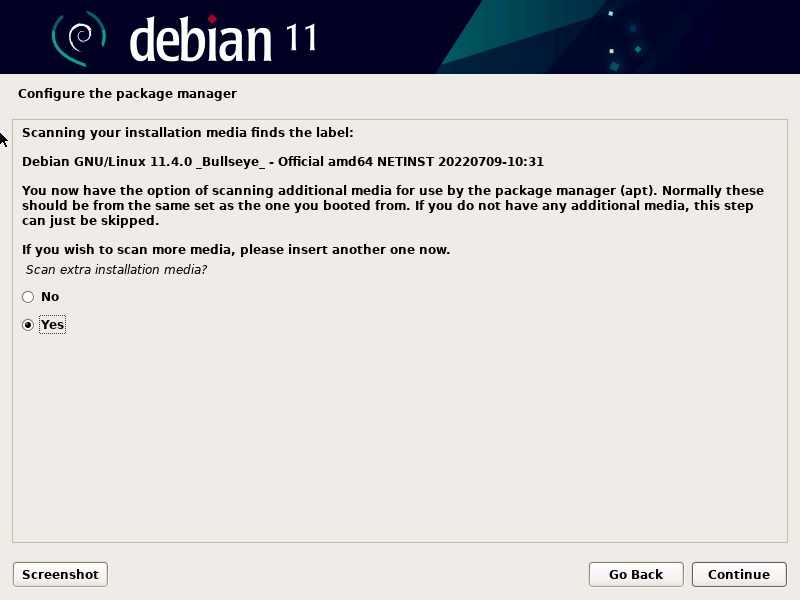
1. To configure the package manager, your system needs to be connected to the internet. If it is connected, select Yes and click Continue to use the network mirror.
2. Select whether you want to participate in a package usage survey. If you select Yes, distribution developers will run automatic submission scripts on your machine. The survey will provide information about the most used packages. Otherwise, choose No to keep that information private.
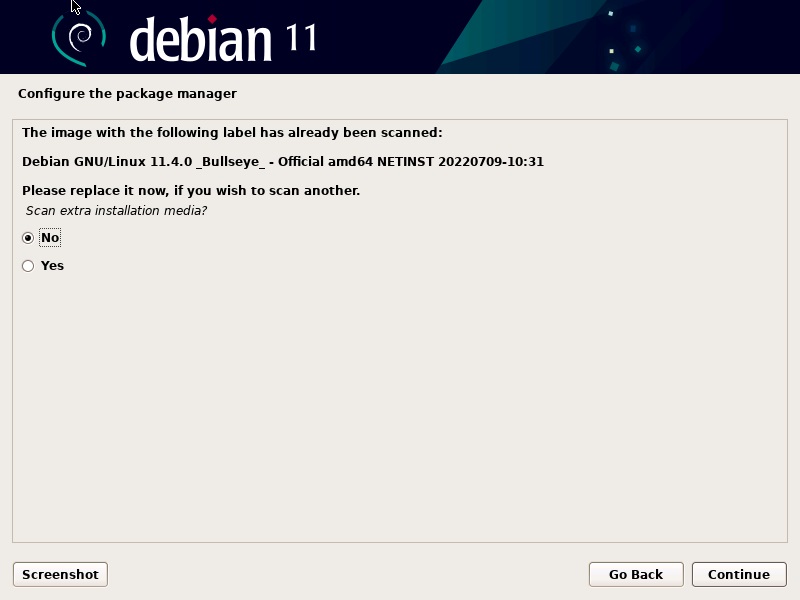
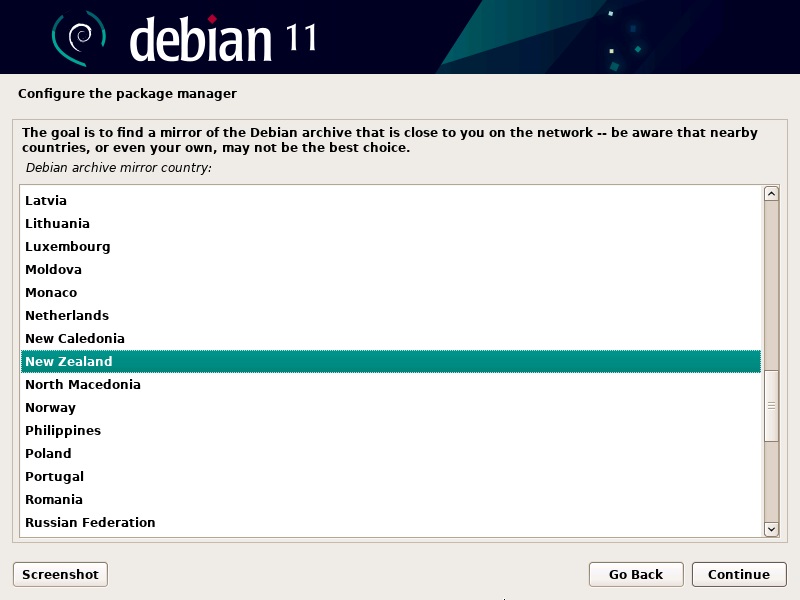
3. Then, the installer will prompt you to provide a location and the Debian package repository URL.
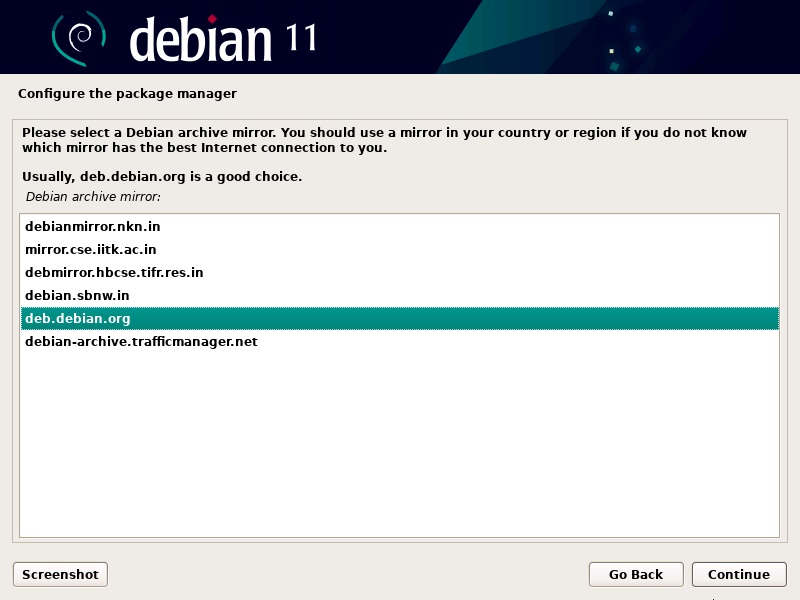
And then you have to select the best Debian archive mirror.
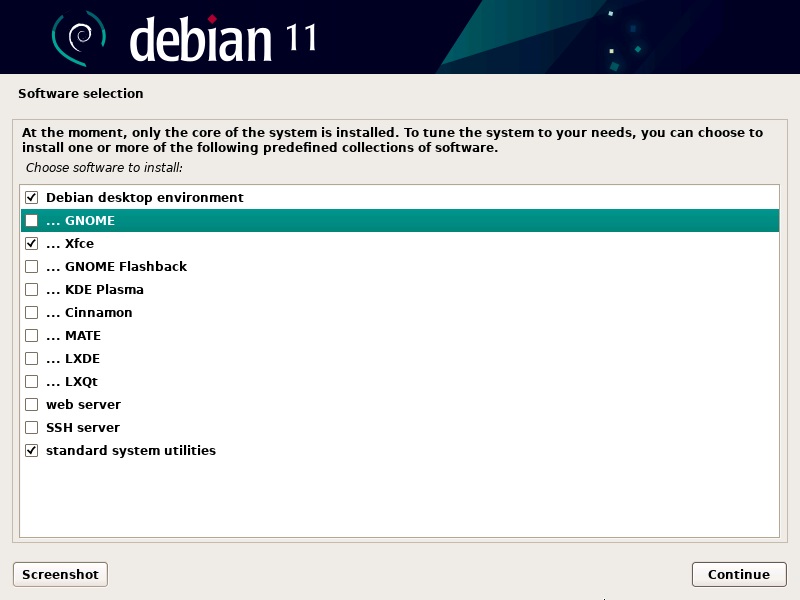
4. Next, select the software you want to have pre-installed once you power up the system. If you want a Graphical User Interface, select XFCE. Also, it is a good idea to install standard system utilities and any other software you may require. Once you have selected all the software, click Continue.
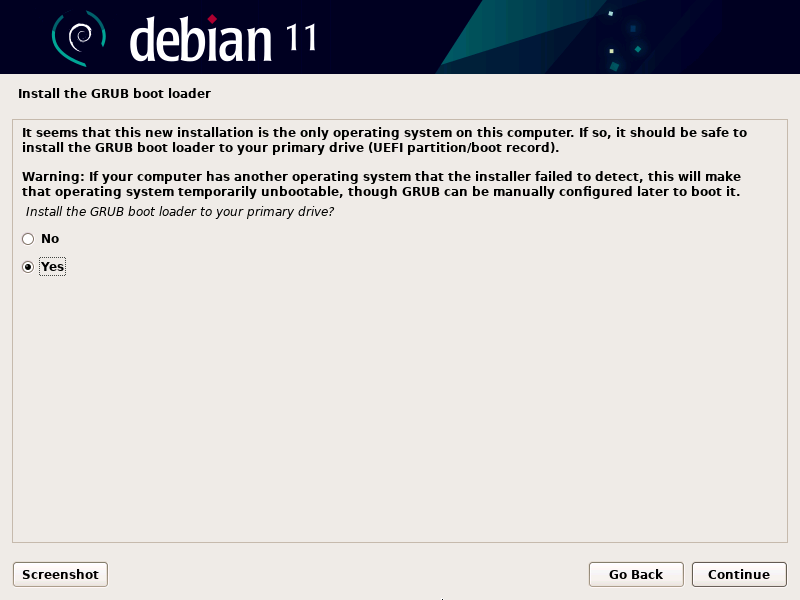
5. If Debian is the only operating system on your computer, you can safely install the GRUB boot loader on the hard disk, as suggested.
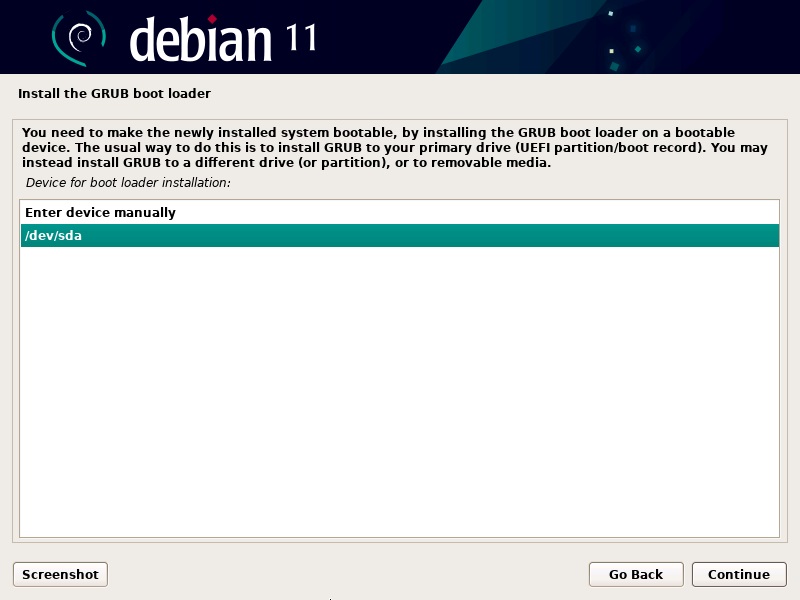
6. The following window will ask you to specify the device on which to install the boot loader. Select /dev/sda unless you want to enter the device manually.
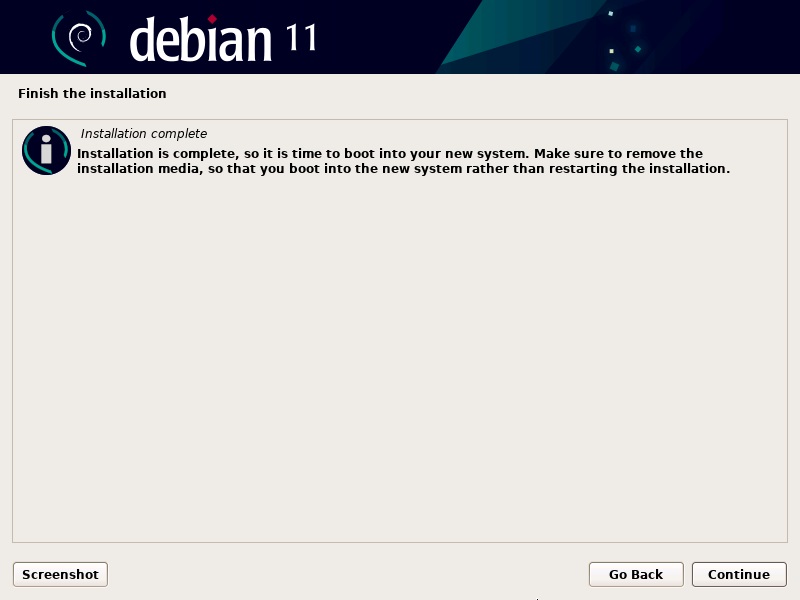
7. You have finished setting up and installing Debian 11, Bullseye. Select Continue to reboot the system.
Start Up Debian 11
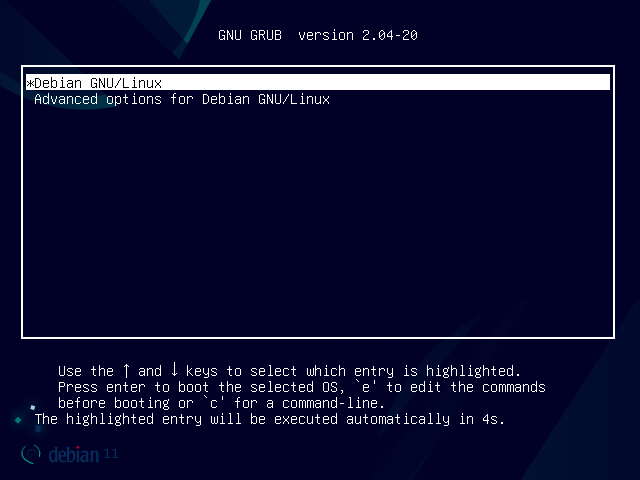
1. As a result, the GNU GRUB bootloader will open, from where you can select to start up Debian GNU/Linux.
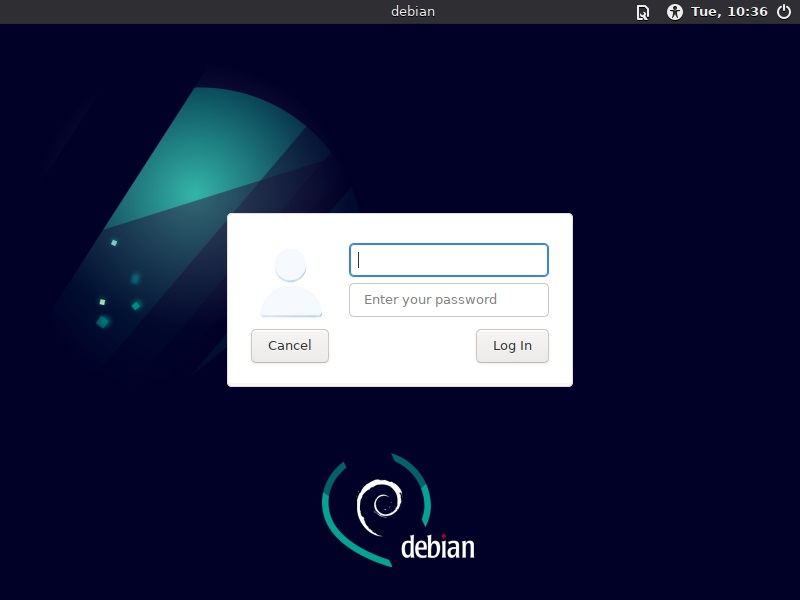
2. The system will prompt you to log in with the user account you have created. Provide the user name and password and sign in.
3. All done! You should now see the Debian desktop screen. This confirms you have successfully installed Debian 11 Bullseye on your machine.
Conclusion
With this step-by-step tutorial, you have installed Debian 11 Bullseye on your system. Next, you may want to look into our other guides for installing software on Debian or learning how to use some of its most popular commands.
Related Linux Tutorials:
