Nano is a simple and user-friendly text editor that comes preinstalled on most Linux systems. It’s an excellent choice for beginners who want to edit configuration files or create simple text files. In this article, we’ll take a look at how to use Nano editor on Linux.
Opening a File in Nano
To open a file in Nano, simply type the following command in your terminal:
nano <filename>
For example, to open a file called myfile.txt, you would type:
nano myfile.txt
If the file does not exist, Nano will create it for you when you save it for the first time.
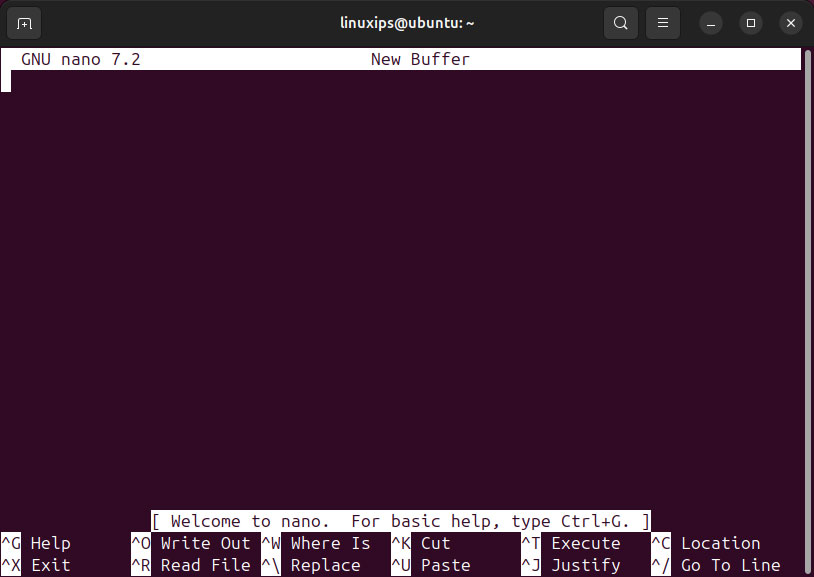
Nano has a simple and intuitive interface. To navigate through a file, use the arrow keys on your keyboard. You can move up and down one line at a time, or you can use the Page Up and Page Down keys to move through the file more quickly.
To move the cursor to a specific location in the file, use the arrow keys or the Ctrl key and a letter. For example, to move to the beginning of a line, press the Ctrl key and the letter A. To move to the end of a line, press the Ctrl key and the letter E.
Editing Text
To edit the text in Nano, simply start typing. You can insert new text, delete existing text, or replace text using Nano’s built-in editing features.
To delete text, move the cursor to the location you want to delete and press the Backspace or Delete key. To insert new text, move the cursor to the location where you want to insert text and start typing. To replace existing text, move the cursor to the location you want to replace and start typing.
Saving and Quitting
To save your changes and exit Nano, press the Ctrl key and the letter X. Nano will prompt you to save your changes if you’ve made any modifications to the file.
To exit Nano without saving your changes, press the Ctrl key and the letter C. Nano will prompt you to save your changes if you’ve made any modifications to the file.
Advanced Features
Nano has a variety of advanced features that can help you work more efficiently. Here are some of the most useful features:
Search and Replace
To search for text in a file, press the Ctrl key and the letter W. Nano will prompt you to enter the text you want to search for. To replace text, press the Ctrl key and the letter. Nano will prompt you to enter the text you want to search for and the text you want to replace it with.
Syntax Highlighting
Nano has built-in syntax highlighting for many programming languages. To enable syntax highlighting, use the -syntax option when opening a file. For example:
nano -syntax myfile.c
This will enable syntax highlighting for C files.
Multiple Buffers
Nano can open multiple buffers at once, allowing you to work on multiple files simultaneously. To open a new buffer, press the Ctrl key and the letter R. To switch between buffers, press the Ctrl key and the letter O.
Conclusion
Nano is a simple yet powerful text editor that can help you get work done quickly and efficiently. With its intuitive interface and advanced features, it’s an excellent choice for anyone who needs to edit text files on Linux. Whether you’re a beginner or an experienced user, Nano is a valuable tool to have in your toolkit.
Related Linux Tutorials: